Key Takeaways
- Getting pre-qualified with the offer in compromise tool doesn’t mean automatic approval; it is just the first step.
- You’ll need to gather other documents, complete IRS forms, and choose the right payment option before submitting your offer.
- The IRS reviews your income, assets, and expenses in detail before deciding.
- Using a reputable tax debt resolution service like IRS Guys increases your chances of approval and saves you time.
So, you used the IRS Offer in Compromise (OIC) Pre-Qualifier and got a message saying you might be eligible to settle your tax debt for less than you owe. That’s a positive start, but what happens next?
Many taxpayers think that “pre-qualified” means “approved.” Unfortunately, that’s not how it works. The pre-qualifier is like a test drive that shows your potential, but the real journey begins after.
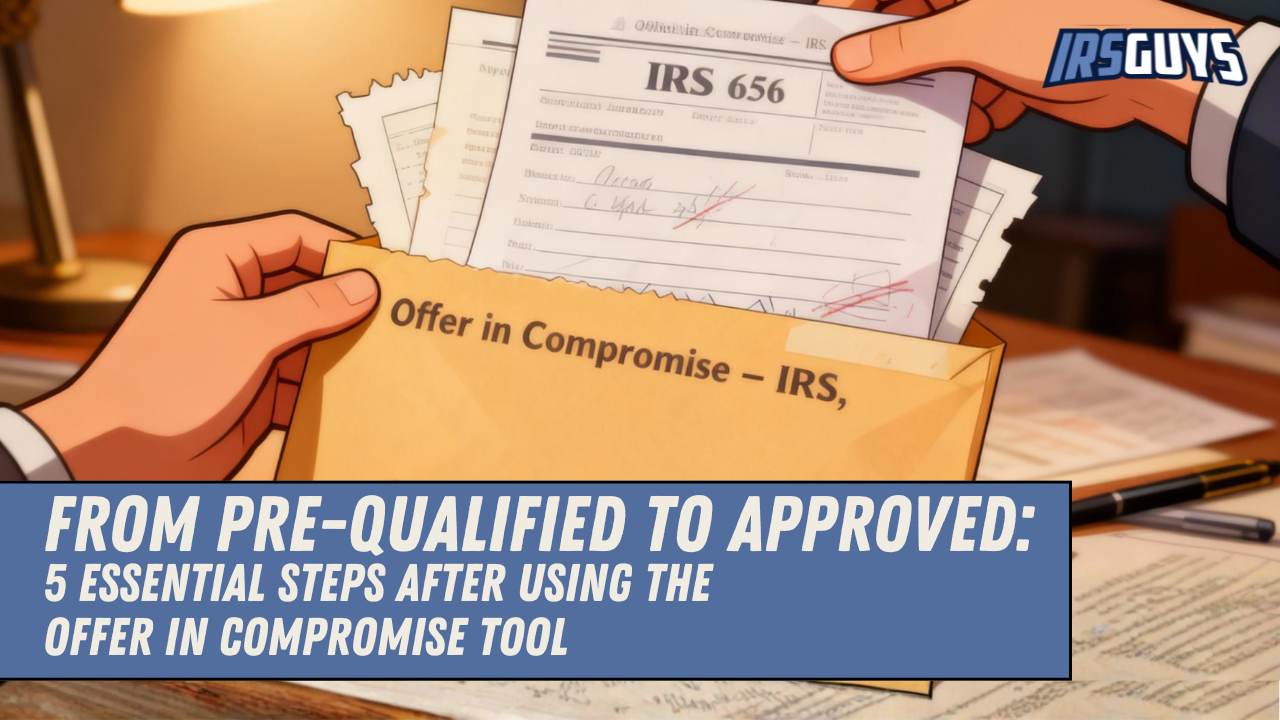
Let’s walk through the five essential steps you’ll need to take after using the offer in compromise tool to move from pre-qualified to approved.
Step 1: Review Your Pre-Qualifier Results Carefully
When the pre-qualifier says you’re “likely eligible,” it’s based on the numbers you entered (income, assets, and expenses). If any of that information was off, your results could change once the IRS verifies your data.
Take a few minutes to double-check your entries:
- Did you include all income sources (wages, business, side jobs)?
- Did you use accurate asset values, like the real equity in your car or home?
- Did you account for necessary living expenses like rent, food, and utilities?
If you are unsure, get an expert to review your inputs before moving to the official application. Catching errors early can prevent headaches later.
Step 2: Gather and Verify Your Financial Documents
After you confirm your pre-qualifier results, the next step is to gather documentation to back up every number you entered. The IRS will want proof of your full financial situation.
Here’s what you’ll need:
- Income: Pay stubs, profit-and-loss statements (if self-employed), Social Security benefits, pension records.
- Expenses: Rent or mortgage statements, utility bills, transportation costs, health insurance, and childcare.
- Assets: Bank statements, vehicle titles, property records, and retirement account balances.
The IRS uses these details to calculate your Reasonable Collection Potential (RCP). Providing complete and accurate documentation helps speed up the review process.
Step 3: Choose Your Payment Option
When you apply for an Offer in Compromise, you must pick a payment method. Your choice affects how your future income is calculated in the RCP formula.
You have two main options:
- Lump Sum Cash Offer: Pay 20% of your offer amount upfront, then the rest is five or fewer payments within five months of approval.
- Periodic Payment Offer: Make monthly payments while your application is under review and continue until the full amount is paid.
If your finances are tight, the periodic plan may make more sense. But if you can make a larger upfront payment, it might improve your chances of approval.
Step 4: Complete and Submit Form 656
This is the formal application stage. You’ll need to submit Form 656 (Offer in Compromise) along with your financial forms (Form 433-A for individuals or Form 433-B for businesses).
You’ll also need to include:
- The application fee ($205 in 2025)
- Your first payment, depending on the plan you chose
Mail your package to the correct IRS processing center for your state (the address is listed in the Form 656 booklet).
This is where precision matters most. Missing signatures, incorrect amounts, or incomplete forms can cause delays or even rejection. That’s why many taxpayers choose to let IRS Guys handle their tax debt resolution needs.
Step 5: Wait for IRS Review (and Respond Promptly)
Once your offer is submitted, the waiting game begins. The IRS review process usually takes 6 to 12 months, depending on workload and the complexity of your case.
During this time:
- The IRS will pause most collection activities, like wage garnishments.
- You might receive requests for additional documents or clarification.
- It’s important to respond quickly, as delays can restart the process.
If your offer is accepted, you’ll receive a written letter confirming the amount and payment schedule. If it’s rejected, you have 30 days to appeal.
Having a professional on your side makes a big difference here.
What the IRS Looks At Before Approval
Even if your pre-qualifier results looked good, the IRS still performs a detailed evaluation. They’ll review:
- Your ability to pay based on verified income and expenses
- Your asset equity, including property, vehicles, and savings
- Your future income potential
- Any special circumstances, like illness or financial hardship
If the IRS believes your offer reflects the most they can reasonably collect, your OIC is likely to be approved.
Bottom Line
Getting pre-qualified with the offer in compromise tool is an exciting first step toward financial freedom. But approval doesn’t happen automatically; it takes careful preparation, accurate paperwork, and professional guidance.
By reviewing your results, gathering your documents, submitting your forms correctly, and staying responsive, you can turn your pre-qualified status into a successful Offer in Compromise.
Take Control With IRS Guys
Tired of complex paperwork? IRS Guys is coming soon to provide automated, easy-to-use resources for handling IRS debt. Whether you need a structured payment plan or a path to penalty abatement, IRS Guys is designed to give you a clear path to resolution.
BOOKMARK THIS PAGE SO YOU DON’T MISS THE LAUNCH